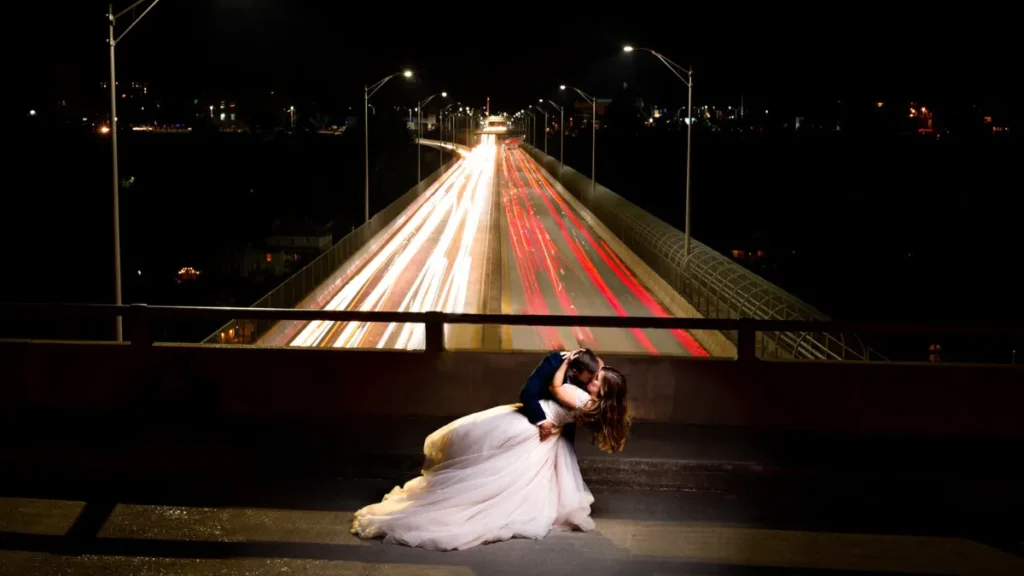
Low light photography techniques are essential for anyone who wants to capture beautiful photos in challenging lighting conditions. Whether you are shooting indoors, at night, or during sunset, knowing how to work with limited light can make your pictures look sharp, clear, and professional. Many beginners struggle with blurry or grainy photos in the dark, but with the right techniques, you can transform your images and bring out the beauty even when light is scarce.
Why Learn Low Light Photography Techniques?
Photography is all about light, and when light is limited, the camera struggles to capture details. This often results in shaky, underexposed, or noisy images. Learning effective low light photography techniques helps you:
- Avoid blurry shots caused by slow shutter speeds
- Reduce grain or noise in dark environments
- Capture vibrant details even in dim conditions
- Improve your overall confidence as a photographer
Use a Wide Aperture
One of the most important low light photography techniques is using a wide aperture. The wider the aperture (f/1.4, f/1.8, or f/2.8), the more light your camera can capture. This not only brightens your photos but also creates a beautiful blurry background, making your subject stand out.
Also read: Macro Photography Techniques: A Complete Guide for Stunning Close-Up Shots
Adjust ISO Sensibly
Increasing ISO is another common method for shooting in low light. ISO boosts your camera’s sensitivity to light. However, pushing it too high can add noise or grain to your photos. A good practice is to raise ISO gradually until you find the balance between brightness and image quality.
Slow Down the Shutter Speed
Another effective technique is lowering the shutter speed to let more light in. The downside is that slower shutter speeds can cause motion blur if your hands shake or your subject moves. To overcome this, use a tripod or rest your camera on a stable surface for sharper results.
Also read: Creative Camera Techniques for Photography: Unique Ways to Capture Stunning Shots
Use a Tripod for Stability
A tripod is one of the most useful tools for low light photography. It keeps your camera steady during long exposures, allowing you to capture sharp and detailed images without worrying about hand movements. This is especially helpful when shooting cityscapes, starry skies, or night street photography.
Make Use of Available Light
Great low light photography techniques don’t always require expensive equipment. Look for natural sources of light such as street lamps, candles, windows, or neon signs. Position your subject close to these light sources to add depth and character to your photo.
Shoot in RAW Format
Shooting in RAW instead of JPEG gives you much more flexibility during editing. RAW files store more image data, which allows you to adjust brightness, shadows, and noise reduction later without losing quality. This is a must for serious low light photography.
Practice Manual Mode
Automatic settings often struggle in dark conditions. Switching to manual mode lets you control aperture, shutter speed, and ISO together. Practicing manual adjustments will help you master low light photography techniques and achieve the exact results you want.
Final Thoughts
Mastering low light photography techniques takes patience and practice, but the results are worth it. By learning how to control your camera settings, using a tripod, and making the most of available light, you can capture clear and stunning images even in dim environments. Whether you are a beginner or an experienced photographer, these techniques will help you tell better stories through your photos and build confidence in challenging lighting situations.

